#strategy
99 articles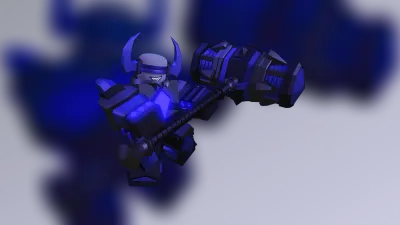
characters
Ban Hammer — Abilities, Strategy, Skins & Lore
Ban Hammer PHIGHTING! profile with role basics, strategy, matchups, verification notes, and links to current sources.
Last updated: 9/29/2026
characters
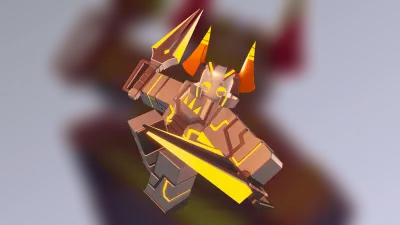
Biograft — Abilities, Strategy, Skins & Lore
Biograft PHIGHTING! profile with role basics, strategy, matchups, verification notes, and links to current sources.
Last updated: 9/29/2026

characters
Boombox — Abilities, Strategy, Skins & Lore
Boombox PHIGHTING! profile with role basics, strategy, matchups, verification notes, and links to current sources.
Last updated: 9/29/2026

characters
Coil — Abilities, Strategy, Skins & Lore
Coil PHIGHTING! profile with role basics, strategy, matchups, verification notes, and links to current sources.
Last updated: 9/29/2026
characters
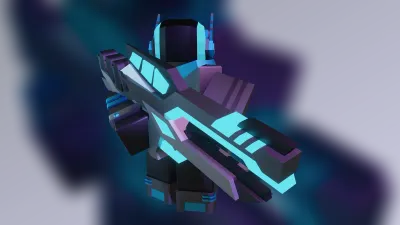
Hyperlaser — Abilities, Strategy, Skins & Lore
Hyperlaser PHIGHTING! profile with role basics, strategy, matchups, verification notes, and links to current sources.
Last updated: 9/29/2026
characters
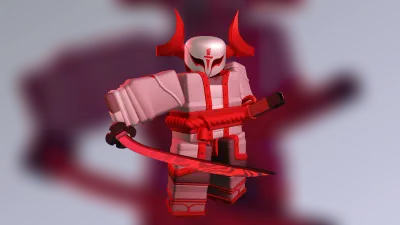
Katana — Abilities, Strategy, Skins & Lore
Katana PHIGHTING! profile with role basics, strategy, matchups, verification notes, and links to current sources.
Last updated: 9/29/2026

characters
Medkit — Abilities, Strategy, Skins & Lore
Medkit PHIGHTING! profile with role basics, strategy, matchups, verification notes, and links to current sources.
Last updated: 9/29/2026
characters
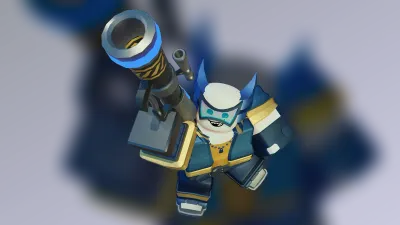
Rocket — Abilities, Strategy, Skins & Lore
Rocket PHIGHTING! profile with role basics, strategy, matchups, verification notes, and links to current sources.
Last updated: 9/29/2026
characters
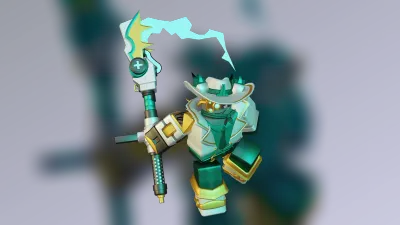
Scythe — Abilities, Strategy, Skins & Lore
Scythe PHIGHTING! profile with role basics, strategy, matchups, verification notes, and links to current sources.
Last updated: 9/29/2026
characters
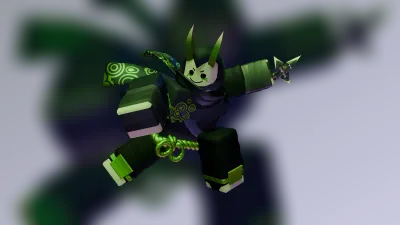
Shuriken — Abilities, Strategy, Skins & Lore
Shuriken PHIGHTING! profile with role basics, strategy, matchups, verification notes, and links to current sources.
Last updated: 9/29/2026
characters
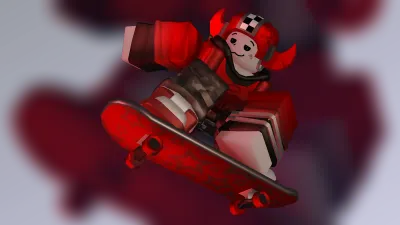
Skateboard — Abilities, Strategy, Skins & Lore
Skateboard PHIGHTING! profile with role basics, strategy, matchups, verification notes, and links to current sources.
Last updated: 9/29/2026

characters
Slingshot — Abilities, Strategy, Skins & Lore
Slingshot PHIGHTING! profile with role basics, strategy, matchups, verification notes, and links to current sources.
Last updated: 9/29/2026
characters
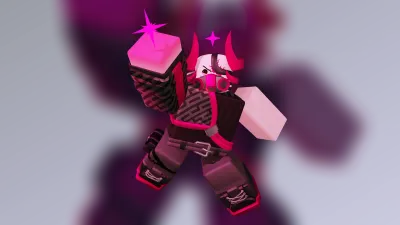
Subspace — Abilities, Strategy, Skins & Lore
Subspace PHIGHTING! profile with role basics, strategy, matchups, verification notes, and links to current sources.
Last updated: 9/29/2026

characters
Sword — Abilities, Strategy, Skins & Lore
Sword PHIGHTING! profile with role basics, strategy, matchups, verification notes, and links to current sources.
Last updated: 9/29/2026

characters
Vine Staff — Abilities, Strategy, Skins & Lore
Vine Staff PHIGHTING! profile with role basics, strategy, matchups, verification notes, and links to current sources.
Last updated: 9/29/2026

game-modes
Annihilate Mode Guide — Rules and Team Strategy
Learn Annihilate priorities, team roles, positioning questions, overtime context, and common mistakes in PHIGHTING!.
Last updated: 9/29/2026
game-modes
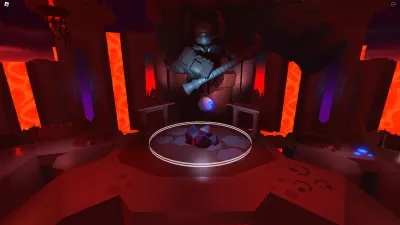
Conquer Mode Guide — Rules and Team Strategy
Learn Conquer priorities, team roles, positioning questions, overtime context, and common mistakes in PHIGHTING!.
Last updated: 9/29/2026

game-modes
Escort Mode Guide — Rules and Team Strategy
Learn Escort priorities, team roles, positioning questions, overtime context, and common mistakes in PHIGHTING!.
Last updated: 9/29/2026
guides
Advanced Positioning in PHIGHTING!
Improve cover use, sightline control, spacing, off-angles, rotations, regrouping, and objective positioning across roles.
Last updated: 9/29/2026

guides
PHIGHTING! Aim and Sensitivity Guide
Tune aim and camera sensitivity with repeatable tests for tracking, turning, projectile placement, comfort, and consistency.
Last updated: 9/29/2026

guides
PHIGHTING! Beginner Guide — Start Here
Start PHIGHTING! with a practical guide to roles, objectives, character choice, positioning, regrouping, and team habits.
Last updated: 9/29/2026

guides
How to Choose a PHIGHTING! Character
Choose a PHIGHTING! character by range, mobility, responsibility, learning load, and the needs of your team.
Last updated: 9/29/2026
guides
How to Play Ban Hammer — Complete Guide
Learn Ban Hammer fundamentals, positioning, decision-making, team responsibilities, practice goals, and common mistakes.
Last updated: 9/29/2026
guides
How to Play Biograft — Complete Guide
Learn Biograft fundamentals, positioning, decision-making, team responsibilities, practice goals, and common mistakes.
Last updated: 9/29/2026
guides
How to Play Boombox — Complete Guide
Learn Boombox fundamentals, positioning, decision-making, team responsibilities, practice goals, and common mistakes.
Last updated: 9/29/2026
guides
How to Play Coil — Complete Guide
Learn Coil fundamentals, positioning, decision-making, team responsibilities, practice goals, and common mistakes.
Last updated: 9/29/2026
guides
How to Play Hyperlaser — Complete Guide
Learn Hyperlaser fundamentals, positioning, decision-making, team responsibilities, practice goals, and common mistakes.
Last updated: 9/29/2026
guides
How to Play Katana — Complete Guide
Learn Katana fundamentals, positioning, decision-making, team responsibilities, practice goals, and common mistakes.
Last updated: 9/29/2026
guides
How to Play Medkit — Complete Guide
Learn Medkit fundamentals, positioning, decision-making, team responsibilities, practice goals, and common mistakes.
Last updated: 9/29/2026
guides
How to Play Rocket — Complete Guide
Learn Rocket fundamentals, positioning, decision-making, team responsibilities, practice goals, and common mistakes.
Last updated: 9/29/2026
guides
How to Play Scythe — Complete Guide
Learn Scythe fundamentals, positioning, decision-making, team responsibilities, practice goals, and common mistakes.
Last updated: 9/29/2026
guides
How to Play Shuriken — Complete Guide
Learn Shuriken fundamentals, positioning, decision-making, team responsibilities, practice goals, and common mistakes.
Last updated: 9/29/2026
guides
How to Play Skateboard — Complete Guide
Learn Skateboard fundamentals, positioning, decision-making, team responsibilities, practice goals, and common mistakes.
Last updated: 9/29/2026
guides
How to Play Slingshot — Complete Guide
Learn Slingshot fundamentals, positioning, decision-making, team responsibilities, practice goals, and common mistakes.
Last updated: 9/29/2026
guides
How to Play Subspace — Complete Guide
Learn Subspace fundamentals, positioning, decision-making, team responsibilities, practice goals, and common mistakes.
Last updated: 9/29/2026
guides
How to Play Sword — Complete Guide
Learn Sword fundamentals, positioning, decision-making, team responsibilities, practice goals, and common mistakes.
Last updated: 9/29/2026
guides
How to Play Vine Staff — Complete Guide
Learn Vine Staff fundamentals, positioning, decision-making, team responsibilities, practice goals, and common mistakes.
Last updated: 9/29/2026

guides
PHIGHTING! Roles Explained — Melee, Ranged & Support
Compare PHIGHTING! melee, ranged, and support responsibilities, positioning goals, strengths, and common mistakes.
Last updated: 9/29/2026

guides
PHIGHTING! Team Composition Guide
Build functional five-player teams by checking range, initiation, sustain, objective presence, and each player’s comfort.
Last updated: 9/29/2026
maps
Banland — Map Guide
Verified Banland map facts, supported modes, release history, layout signals, hazards, and practical routing advice.
Last updated: 9/29/2026

maps
BOGIO Skatepark — Map Guide
Verified BOGIO Skatepark map facts, supported modes, release history, layout signals, hazards, and practical routing advice.
Last updated: 9/29/2026

maps
Chaos Canyon — Map Guide
Verified Chaos Canyon map facts, supported modes, release history, layout signals, hazards, and practical routing advice.
Last updated: 9/29/2026

maps
Darkage Cliffs — Map Guide
Verified Darkage Cliffs map facts, supported modes, release history, layout signals, hazards, and practical routing advice.
Last updated: 9/29/2026

maps
DODGEBALL! — Map Guide
Verified DODGEBALL! map facts, supported modes, release history, layout signals, hazards, and practical routing advice.
Last updated: 9/29/2026
maps
Domino Valley — Map Guide
Verified Domino Valley map facts, supported modes, release history, layout signals, hazards, and practical routing advice.
Last updated: 9/29/2026
maps
Doomspire — Map Guide
Verified Doomspire map facts, supported modes, release history, layout signals, hazards, and practical routing advice.
Last updated: 9/29/2026
maps
Hotel Elephant — Map Guide
Verified Hotel Elephant map facts, supported modes, release history, layout signals, hazards, and practical routing advice.
Last updated: 9/29/2026

maps
King of the Hill — Map Guide
Verified King of the Hill map facts, supported modes, release history, layout signals, hazards, and practical routing advice.
Last updated: 9/29/2026

maps
Nuke The Whales — Map Guide
Verified Nuke The Whales map facts, supported modes, release history, layout signals, hazards, and practical routing advice.
Last updated: 9/29/2026

maps
Protect Telamon — Map Guide
Verified Protect Telamon map facts, supported modes, release history, layout signals, hazards, and practical routing advice.
Last updated: 9/29/2026

maps
Rob The ROBLOX Bank — Map Guide
Verified Rob The ROBLOX Bank map facts, supported modes, release history, layout signals, hazards, and practical routing advice.
Last updated: 9/29/2026

maps
ROBLOX HQ — Map Guide
Verified ROBLOX HQ map facts, supported modes, release history, layout signals, hazards, and practical routing advice.
Last updated: 9/29/2026

maps
ROBLOX Laundromat — Map Guide
Verified ROBLOX Laundromat map facts, supported modes, release history, layout signals, hazards, and practical routing advice.
Last updated: 9/29/2026
maps
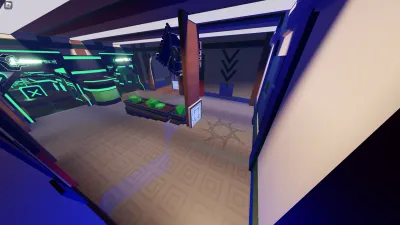
ROBLOX Mall — Map Guide
Verified ROBLOX Mall map facts, supported modes, release history, layout signals, hazards, and practical routing advice.
Last updated: 9/29/2026

maps
ROBLOX Museum — Map Guide
Verified ROBLOX Museum map facts, supported modes, release history, layout signals, hazards, and practical routing advice.
Last updated: 9/29/2026
maps
Rocket Arena — Map Guide
Verified Rocket Arena map facts, supported modes, release history, layout signals, hazards, and practical routing advice.
Last updated: 9/29/2026
maps
Space Knights — Map Guide
Verified Space Knights map facts, supported modes, release history, layout signals, hazards, and practical routing advice.
Last updated: 9/29/2026

maps
Sword Fight On The Heights — Map Guide
Verified Sword Fight On The Heights map facts, supported modes, release history, layout signals, hazards, and practical routing advice.
Last updated: 9/29/2026

maps
The Bread Factory — Map Guide
Verified The Bread Factory map facts, supported modes, release history, layout signals, hazards, and practical routing advice.
Last updated: 9/29/2026
matchups
Ban Hammer vs Scythe Matchup Guide
Understand the Ban Hammer versus Scythe matchup through range, positioning, pressure windows, team context, and review questions.
Last updated: 9/29/2026
matchups
Biograft vs Medkit Matchup Guide
Understand the Biograft versus Medkit matchup through range, positioning, pressure windows, team context, and review questions.
Last updated: 9/29/2026
matchups
Boombox vs Subspace Matchup Guide
Understand the Boombox versus Subspace matchup through range, positioning, pressure windows, team context, and review questions.
Last updated: 9/29/2026
matchups
Ban Hammer Counters and Counterplay Strategy
Counter Ban Hammer by denying preferred space, timing pressure around commitments, protecting vulnerable teammates, and regrouping.
Last updated: 9/29/2026
matchups
Biograft Counters and Counterplay Strategy
Counter Biograft by denying preferred space, timing pressure around commitments, protecting vulnerable teammates, and regrouping.
Last updated: 9/29/2026
matchups
Boombox Counters and Counterplay Strategy
Counter Boombox by denying preferred space, timing pressure around commitments, protecting vulnerable teammates, and regrouping.
Last updated: 9/29/2026
matchups
Coil Counters and Counterplay Strategy
Counter Coil by denying preferred space, timing pressure around commitments, protecting vulnerable teammates, and regrouping.
Last updated: 9/29/2026
matchups
Hyperlaser Counters and Counterplay Strategy
Counter Hyperlaser by denying preferred space, timing pressure around commitments, protecting vulnerable teammates, and regrouping.
Last updated: 9/29/2026
matchups
Katana Counters and Counterplay Strategy
Counter Katana by denying preferred space, timing pressure around commitments, protecting vulnerable teammates, and regrouping.
Last updated: 9/29/2026
matchups
Medkit Counters and Counterplay Strategy
Counter Medkit by denying preferred space, timing pressure around commitments, protecting vulnerable teammates, and regrouping.
Last updated: 9/29/2026
matchups
Rocket Counters and Counterplay Strategy
Counter Rocket by denying preferred space, timing pressure around commitments, protecting vulnerable teammates, and regrouping.
Last updated: 9/29/2026
matchups
Scythe Counters and Counterplay Strategy
Counter Scythe by denying preferred space, timing pressure around commitments, protecting vulnerable teammates, and regrouping.
Last updated: 9/29/2026
matchups
Shuriken Counters and Counterplay Strategy
Counter Shuriken by denying preferred space, timing pressure around commitments, protecting vulnerable teammates, and regrouping.
Last updated: 9/29/2026
matchups
Skateboard Counters and Counterplay Strategy
Counter Skateboard by denying preferred space, timing pressure around commitments, protecting vulnerable teammates, and regrouping.
Last updated: 9/29/2026
matchups
Slingshot Counters and Counterplay Strategy
Counter Slingshot by denying preferred space, timing pressure around commitments, protecting vulnerable teammates, and regrouping.
Last updated: 9/29/2026
matchups
Subspace Counters and Counterplay Strategy
Counter Subspace by denying preferred space, timing pressure around commitments, protecting vulnerable teammates, and regrouping.
Last updated: 9/29/2026
matchups
Sword Counters and Counterplay Strategy
Counter Sword by denying preferred space, timing pressure around commitments, protecting vulnerable teammates, and regrouping.
Last updated: 9/29/2026
matchups
Vine Staff Counters and Counterplay Strategy
Counter Vine Staff by denying preferred space, timing pressure around commitments, protecting vulnerable teammates, and regrouping.
Last updated: 9/29/2026
matchups
Hyperlaser vs Coil Matchup Guide
Understand the Hyperlaser versus Coil matchup through range, positioning, pressure windows, team context, and review questions.
Last updated: 9/29/2026
matchups
Rocket vs Boombox Matchup Guide
Understand the Rocket versus Boombox matchup through range, positioning, pressure windows, team context, and review questions.
Last updated: 9/29/2026
matchups
Skateboard vs Hyperlaser Matchup Guide
Understand the Skateboard versus Hyperlaser matchup through range, positioning, pressure windows, team context, and review questions.
Last updated: 9/29/2026
matchups
Slingshot vs Shuriken Matchup Guide
Understand the Slingshot versus Shuriken matchup through range, positioning, pressure windows, team context, and review questions.
Last updated: 9/29/2026
matchups
Subspace vs Medkit Matchup Guide
Understand the Subspace versus Medkit matchup through range, positioning, pressure windows, team context, and review questions.
Last updated: 9/29/2026
matchups
Sword vs Katana Matchup Guide
Understand the Sword versus Katana matchup through range, positioning, pressure windows, team context, and review questions.
Last updated: 9/29/2026
matchups
Vine Staff vs Scythe Matchup Guide
Understand the Vine Staff versus Scythe matchup through range, positioning, pressure windows, team context, and review questions.
Last updated: 9/29/2026
mechanics
PHIGHTING! Controls and Inputs
PHIGHTING! Controls and Inputs explained with practical examples, live-game verification notes, common mistakes, and related strategy pages.
Last updated: 9/29/2026
mechanics
Damage, Healing and Team Sustain
Damage, Healing and Team Sustain explained with practical examples, live-game verification notes, common mistakes, and related strategy pages.
Last updated: 9/29/2026
mechanics
Health and Shields in PHIGHTING!
Health and Shields in PHIGHTING! explained with practical examples, live-game verification notes, common mistakes, and related strategy pages.
Last updated: 9/29/2026
mechanics
PHIGHTING! Map Voting Explained
PHIGHTING! Map Voting Explained explained with practical examples, live-game verification notes, common mistakes, and related strategy pages.
Last updated: 9/29/2026
mechanics
PHIGHTING! Movement and Mobility Basics
PHIGHTING! Movement and Mobility Basics explained with practical examples, live-game verification notes, common mistakes, and related strategy pages.
Last updated: 9/29/2026
mechanics
How Overtime Works in PHIGHTING!
How Overtime Works in PHIGHTING! explained with practical examples, live-game verification notes, common mistakes, and related strategy pages.
Last updated: 9/29/2026
mechanics
How Phinishers Work in PHIGHTING!
How Phinishers Work in PHIGHTING! explained with practical examples, live-game verification notes, common mistakes, and related strategy pages.
Last updated: 9/29/2026
mechanics
Respawning and Regrouping in PHIGHTING!
Respawning and Regrouping in PHIGHTING! explained with practical examples, live-game verification notes, common mistakes, and related strategy pages.
Last updated: 9/29/2026
mechanics
PHIGHTING! Status Effects Explained
PHIGHTING! Status Effects Explained explained with practical examples, live-game verification notes, common mistakes, and related strategy pages.
Last updated: 9/29/2026
mechanics
PHIGHTING! Team Colors and Readability
PHIGHTING! Team Colors and Readability explained with practical examples, live-game verification notes, common mistakes, and related strategy pages.
Last updated: 9/29/2026
tier-list
Best PHIGHTING! Characters for Beginners
Best PHIGHTING! Characters for Beginners using transparent criteria, complete roster links, context limits, and a repeatable in-game testing method.
Last updated: 9/29/2026
tier-list
PHIGHTING! Melee Comparison
PHIGHTING! Melee Comparison using transparent criteria, complete roster links, context limits, and a repeatable in-game testing method.
Last updated: 9/29/2026
tier-list
PHIGHTING! Role-Based Tier List
PHIGHTING! Role-Based Tier List using transparent criteria, complete roster links, context limits, and a repeatable in-game testing method.
Last updated: 9/29/2026
tier-list
PHIGHTING! Ranged Comparison
PHIGHTING! Ranged Comparison using transparent criteria, complete roster links, context limits, and a repeatable in-game testing method.
Last updated: 9/29/2026
tier-list
PHIGHTING! Support Comparison
PHIGHTING! Support Comparison using transparent criteria, complete roster links, context limits, and a repeatable in-game testing method.
Last updated: 9/29/2026